
DIY Garage Door Spring Replacement Tips to Replace Garage Springs Safely
- Darren Mountford
- Apr 13
- 4 min read
Garage door springs are essential for smooth and safe door operation. When they wear out or break, replacing them quickly is important. However, garage door springs are under high tension and can be dangerous if handled incorrectly. I want to share some practical tips to help you replace garage springs safely and confidently. Whether you are a DIY enthusiast, builder, or garage door fitter, these insights will guide you through the process step-by-step.
Garage door spring replacement is a task that requires care, the right tools, and clear instructions. I’ll also explain how to identify the type of springs you have, what safety precautions to take, and how to avoid common mistakes. Let’s dive in!
Understanding Garage Door Springs and How to Replace Garage Springs Safely
Before starting, it’s important to know the two main types of garage door springs: torsion springs and extension springs. Torsion springs are mounted above the door and twist to lift it. Extension springs run along the sides and stretch to open the door.
Both types store a lot of energy, so handling them safely is crucial. Here are some key safety tips to replace garage springs safely:
Always wear safety glasses and gloves to protect your eyes and hands.
Use the right tools, such as winding bars for torsion springs, not screwdrivers or other makeshift tools.
Work with a partner if possible, especially when handling heavy or high-tension springs.
Disconnect the garage door opener to prevent accidental activation.
Release tension carefully before removing old springs.
Taking these precautions seriously will reduce the risk of injury and make the job smoother.
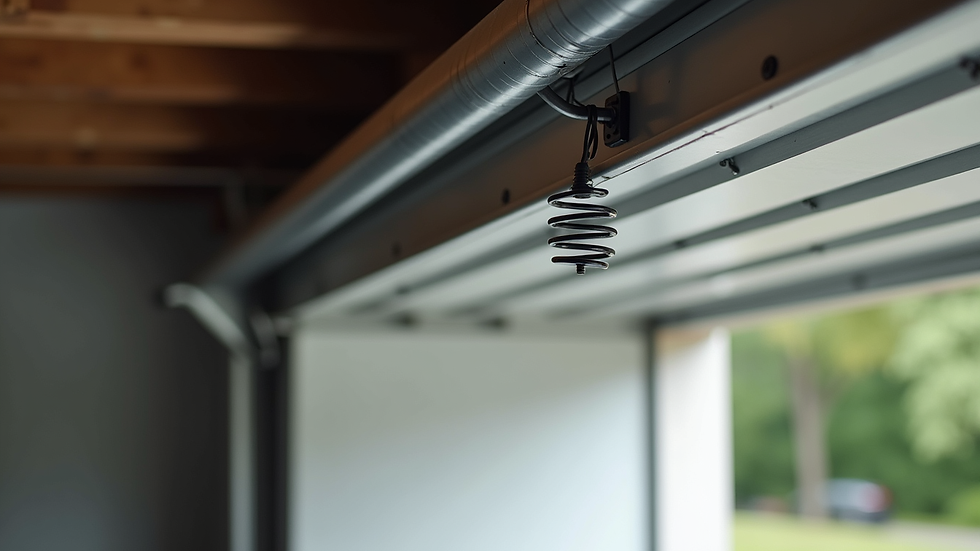
Caption: Torsion spring installed above the garage door ready for replacement.
Step-by-Step Guide to Replace Garage Springs Safely
Here’s a straightforward process to replace your garage door springs safely:
Identify the spring type: Check if your door uses torsion or extension springs.
Gather tools and parts: You’ll need winding bars, adjustable wrenches, pliers, a ladder, and replacement springs matched to your door’s specifications.
Secure the door: Close the garage door and clamp it to the track to prevent movement.
Release spring tension: For torsion springs, insert winding bars into the winding cone and slowly unwind the spring. For extension springs, use pliers to disconnect the safety cables and remove the springs.
Remove old springs: Unscrew the mounting brackets and carefully take out the springs.
Install new springs: Attach the new springs to the brackets and cables, ensuring they are properly aligned.
Wind the springs: For torsion springs, use winding bars to wind the springs the correct number of turns based on your door size and weight.
Test the door: Remove clamps and manually lift the door to check balance and smooth operation.
Reconnect the opener: Once you confirm the door works well, reconnect the automatic opener.
If you want to learn more about the detailed process, you can check out this diy garage door spring replacement guide for extra tips and safety advice.

Caption: Tools and new garage door springs prepared for installation.
How Much Does It Normally Cost to Replace Springs on a Garage Door?
Understanding the cost involved can help you decide whether to DIY or hire a professional. Here’s a breakdown of typical expenses:
Parts: Replacement springs usually cost between £30 and £100 each, depending on the type and quality.
Tools: If you don’t already have winding bars and other necessary tools, expect to spend around £20 to £50.
Professional labour: Hiring a technician can cost between £100 and £200, including parts and labour.
Doing the replacement yourself can save money, but only if you have the right skills and tools. Remember, safety is paramount. If you feel unsure, it’s better to consult a professional.
Common Mistakes to Avoid When Replacing Garage Door Springs
Garage door spring replacement is not a simple task. Here are some common pitfalls to watch out for:
Using incorrect tools: Never use screwdrivers or pliers to wind torsion springs. Always use winding bars.
Not matching spring specifications: Springs come in different sizes and strengths. Using the wrong spring can damage your door or cause accidents.
Skipping safety gear: Always wear gloves and eye protection.
Failing to release tension properly: Springs under tension can snap violently if released incorrectly.
Ignoring door balance: After replacement, the door should stay open halfway without assistance. If it doesn’t, the springs may be wound incorrectly.
Avoiding these mistakes will help you complete the job safely and effectively.
Tips for Maintaining Your Garage Door Springs for Longevity
Once you’ve replaced your springs, keeping them in good condition will extend their life and prevent future problems. Here are some maintenance tips:
Lubricate springs regularly with a silicone-based spray to reduce friction and rust.
Inspect springs monthly for signs of wear, rust, or damage.
Keep the door balanced by testing it every few months.
Avoid slamming the door to reduce stress on springs.
Schedule professional inspections every few years for peace of mind.
Regular care will save you time and money in the long run.
Ready to Replace Your Garage Door Springs?
Replacing garage door springs can seem intimidating, but with the right approach, it’s manageable. Remember to prioritise safety, use proper tools, and follow the step-by-step guide carefully. If you want to save money and enjoy the satisfaction of a job well done, consider a diy garage door spring replacement project.
If you need quality garage door parts and spares, make sure to source them from reliable suppliers. Good parts and correct installation will keep your garage door working smoothly for years.
Take your time, stay safe, and enjoy the process of maintaining your garage door like a pro!


Comments